Requisition Received Report
Reports > Inventory > Requisition Received
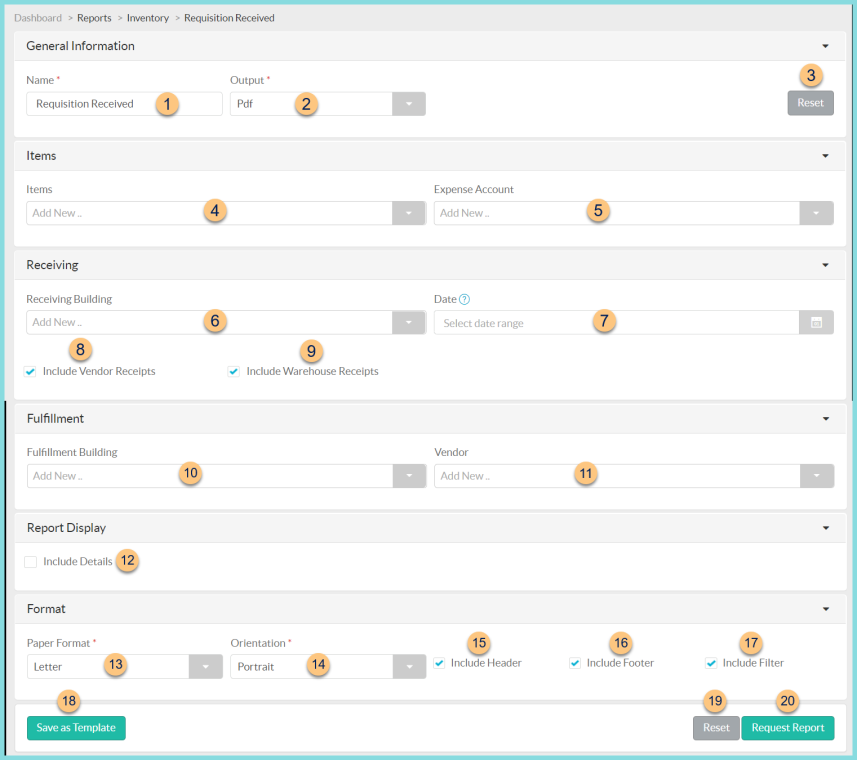
The Requisition Received Report provides data for all receipts per site for a selected date range.
-
Name - enter a report name
Default: Requisition Received -
Output - select output format (Html, Pdf (default))
Template (not pictured) - select a report template -
Reset - click to reset to default options
-
Items - filter by purchased item(s)
-
Expense Account - filter by expense account
-
Receiving Building - filter by receiving warehouse
-
Date - filter by date range; if no date is selected the current date is used
-
Include Vendor Receipts - check to include vendor receipts (default)
-
Include Warehouse Receipts - check to include warehouse receipts (default)
-
Fulfillment Building - filter by fulfillment warehouse
-
Vendor - filter by vendor
-
Include Details - check to include receipt details of each item
-
Paper Format - choose a paper format (CR80, Legal, Letter (default))
-
Orientation - choose orientation (Landscape, Portrait (default))
-
Include Header - check to include report header
-
Include Footer - check to include report footer
-
Include Filter - check to include selected filters
-
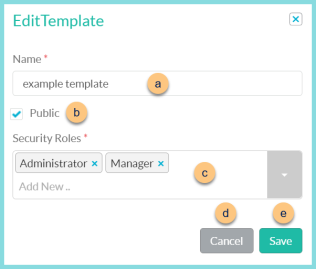
Save as Template - click to save the selected filters and columns as a template
-
Name - enter a template name
-
Public - check to make the template available to other users
-
Security Roles - select the security roles that can access a Public template
-
Cancel - click to return to the previous screen without saving the template
-
Save - click to save the template
-
Reset - click to reset to defaults
-
Request Report - click to request report
Note: Report will appear in the bell icon when complete
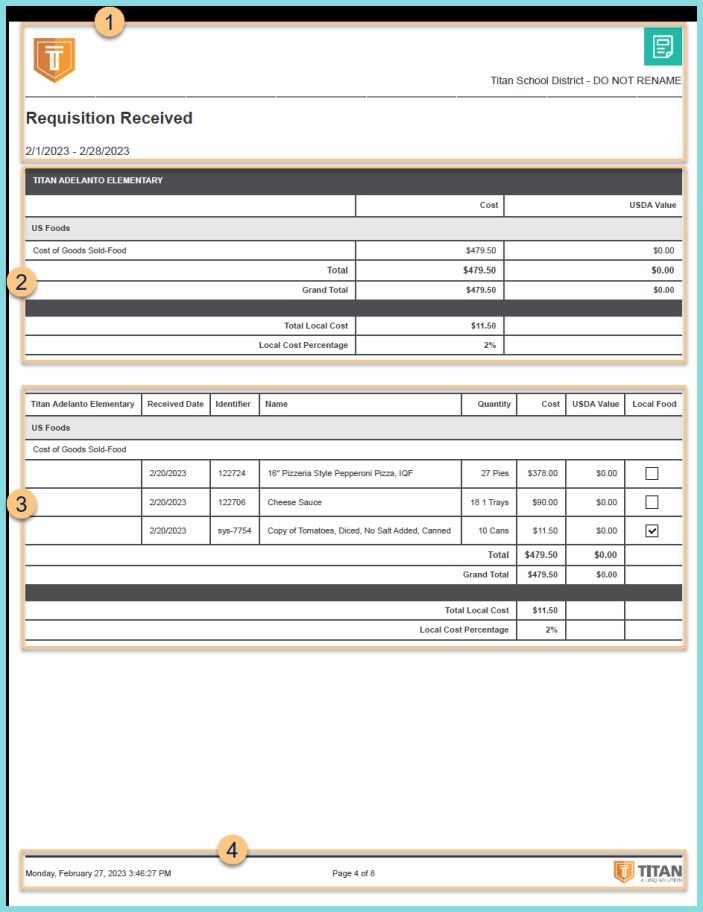
Report Format
-
Header - notice the District Logo, District Name, Report Title, and Date Range.
-
Summary - notice the Cost and USDA Value received for each vendor and expense account. Notice the Total Local Cost and the Local Cost Percentage.
Local Cost Percentage = Total Local Cost / Grand Total x 100% -
Details - notice the received date, item identifier, item name, quantity received, cost received, and USDA value received. Notice the Total per vendor, Grand Total, Total Local Cost, and Local Cost Percentage.
Local Cost Percentage = Total Local Cost / Grand Total x 100%
Filters (not pictured) - notice the name(s) and value(s) of selected filters -
Footer - notice the date and time the report was requested, pages, and TITAN logo